Christmas Wreath Door Card by Jess

Hello, Rinea friends!

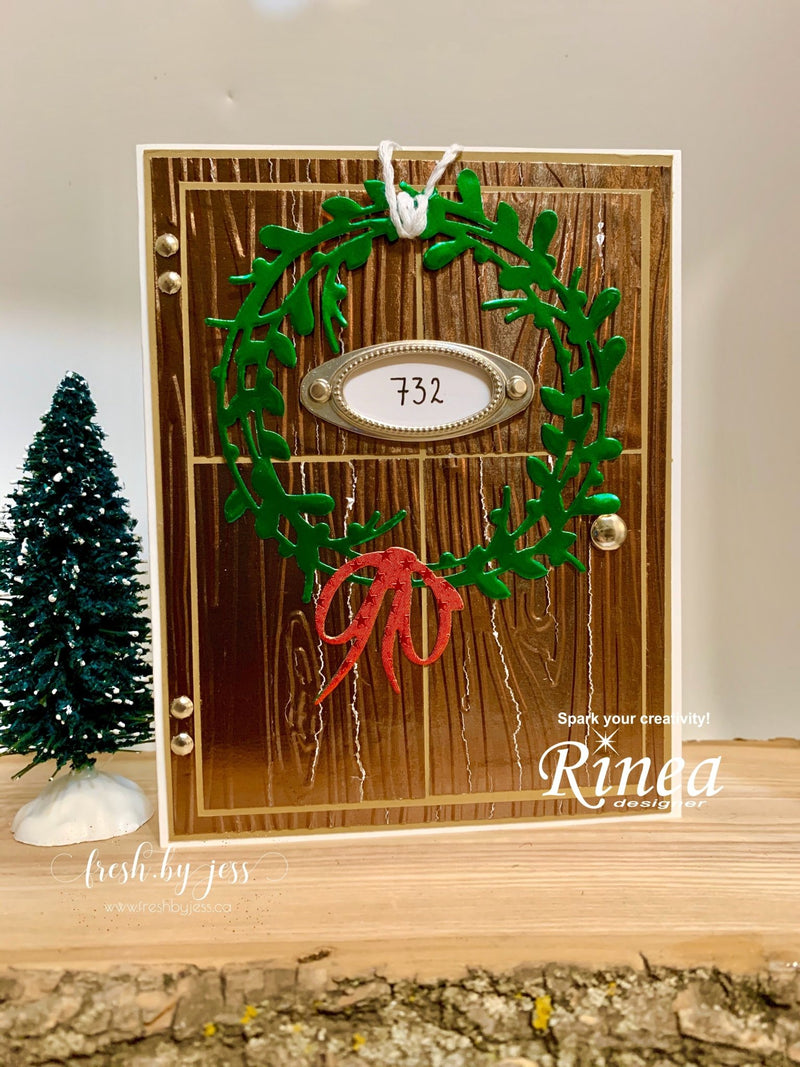
It's Jess here today. I can't believe it's December? Where did the year fly away too? Well, since Christmas is still around the corner, I wanted to give you one more holiday card idea. The idea of a door with a wreath has been around for years, but I put my "Rinea" spin on it! I purposely didn't add a sentiment and just chose a random house number. I love how it turned out! Grab your supplies - and let's make it!
For this card, you will need:
Rinea Foiled Paper - Mocha/Gold Glossy, Emerald/Gold Glossy, Ruby Starstruck Foiled
Woodgrain Embossing Folder
Light Brown Cardstock
Wreath Die
Brads & twine
Adhesive
Optional: Hardware silver piece and black pen along with white cardstock
Ok! To start, you are going to cut 2 pieces of Mocha/Gold Glossy foiled paper. You want one to be 4X5.25 and the other to be 3.5x4.75 (approx). I did this for my door layers. You are also going to want to cut some light brown cardstock as bases for these pieces. I roughly give between 1/4 and 1/8 of an inch border (depending on how much you want to show).

I ran each piece of foiled paper through my Big Shot with the woodgrain embossing folder. I wanted a really distressed look, so I made sure my "sandwich" was on its thickest setting. Then, I trimmed the smaller piece into 4 door "panels", and adhered all the pieces to the cardstock backgrounds.
Using the Emerald/Gold Glossy and Ruby Starstruck Foiled papers, I die cut 2 wreaths. As you can see, I cut out the bow from the Ruby to add to my wreath.

Brads were used as the doorknob and hinges (see - there still is a use for them! LOL). I wrapped some twine around the wreath to "hang" on my door - and used a couple of glue dots to secure it.
Finally, as the last accent, I added a "door number" using some hodgepodge hardware. I wrote the number on white cardstock and fitted it behind, then adhered with brads. I glued the entire card front onto my card base and voila!
I LOVE how it turned out!
Thanks for tuning in! See you again soon.
Jess