Create 3D Snowflakes! by Jessa Plant

Hey there! It's Jessa from Sparkle Living here today and I have a super fun project to share with you. 3D snowflakes! They are so stunning and make great holiday and winter decor. Put them on the tree, hang them from windows or use them as gift toppers!

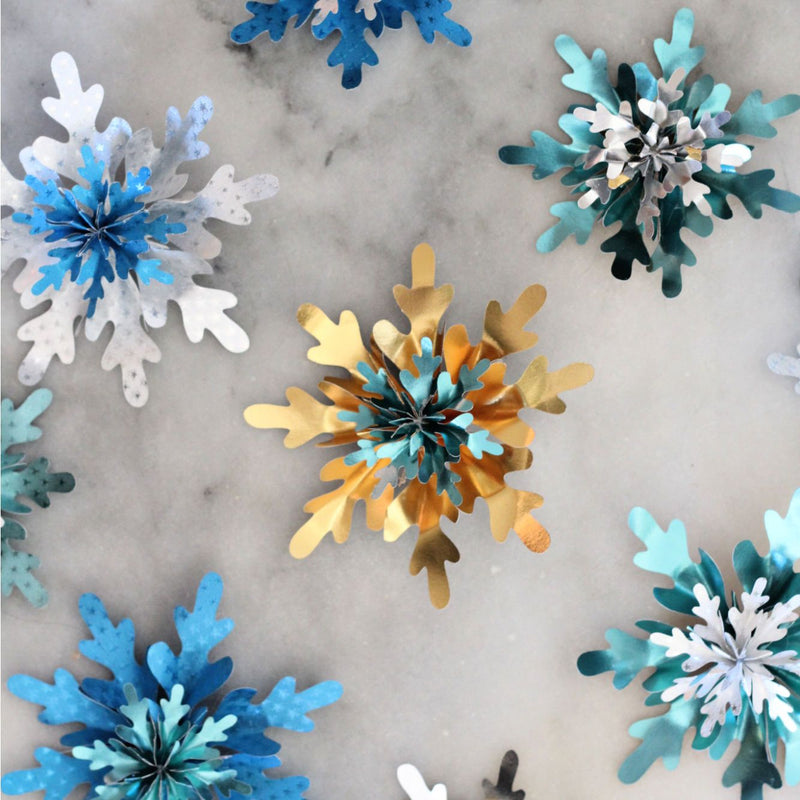
I used Rinea Foiled Paper in the Frosted Variety Pack, which the colors appear to be created just for this project! Of course you can use any type of paper, but the foiled paper adds shine and is so easy to create with.
You will need the SVG cut file for your cutting machine. I have it as a free download over on my blog HERE. Or you can manually cut out the pieces using THIS template.

Cutting Machine Tips
When using the Rinea Foiled Paper in my Silhouette there are a couple things I take note of...
- First, make sure the mat isn't too new. I have a mat that has been used a few times that I reserve just for cutting the foiled paper. If the mat is new and really sticky, the foiled sticks too well and rips. That's sad.
- Second, make sure your blade is sharp. I made the mistake of using an older, well used blade and it destroyed the foiled paper. Which was also a very sad moment.
- Third, use the vellum setting on your cutting machine and set it to two passes. The two passes is more of a preference, since I dislike it when I have to weed a lot or cut a spot that didn't quite cut all the way through.

Putting the Snowflakes Together
- Using the cut file, cut out two of the snowflake pattern, making sure they are the exact same size.

- Accordion fold the snowflake, starting at the end, match the end point to the next point, and crease just at the base of the cut out. Do this with both pieces of foiled paper, making sure the tops sides are going the same direction.
- Add a little strip of hot glue to the very end of the cut out and glue the two pieces together to form one long strip.
 s
s
- Hot glue the other end to form a circle.

- Pinch the inside of the snowflake together and add a dab of hot glue. Hold it together until the glue is dry.
- Gently straighten out the tips of the snowflake so that they are evenly spread apart.
- Get creative and make different sizes and different colors and stack them!
Notes On the Glue
I chose to use the hot glue on this project because it holds the foiled paper together very quickly. This works especially well if you have one of those newer hot glue guns with the little detail tips. You can also use craft glue, but that requires holding the pieces together until the glue starts drying. No one has time for that!