Create Beautiful Flowers by Clair

Hello! It's Clair here today with a tutorial for some lovely, little flowers that make the most of basic tools - and, of course, our beautiful Rinea Foiled Paper.

You'll need:
Your favourite Rinea Foiled Paper (I used Blush/Gold Glossy Foiled Paper)
Heart Die or Heart Punch
Circle Die or Circle Punch (Small/Medium/Large)
Gluestick/Adhesive
Decorative Button, Brads or Gems.
Sewing Machine
1. Make 1 Small Circle, 2 Medium Circles and 1 Large Circle and set aside.
2. With either the Heart Punch or Heart Die, make 24 Hearts from the Rinea Foiled Paper.
3. Stack 3 x Hearts and with a machine, stitch centrally. Repeat to create a set of 8 heart stacks.


4. Take the Large Circle and add adhesive to one side. Add one of the heart stacks to the circle, so that the 'Point' of the heart is in the centre of the circle.

5. Add three more heart stacks to the circle, to form the first layer of the flower.

6. Take one of the Medium Circles and adhere it to the first layer, covering the centre of the hearts. This will help to secure them to the base.

7. Add a second layer of hearts. If there are spaces in the first layer (as above) the second layer can be added between the hearts, to cover any spaces.

8. Take the second Medium Circle and add it to the centre of the flower, covering the centre of the second layer. (I chose to use the Gold Glossy side for this, as a contrast.)

9. Add the Small Circle to the centre of the flower, as further contrast. Then, bend the 'Petals' of the flower inwards, lifting each of the individual layers of the heart stacks. You can bend, fold or curl to add texture.

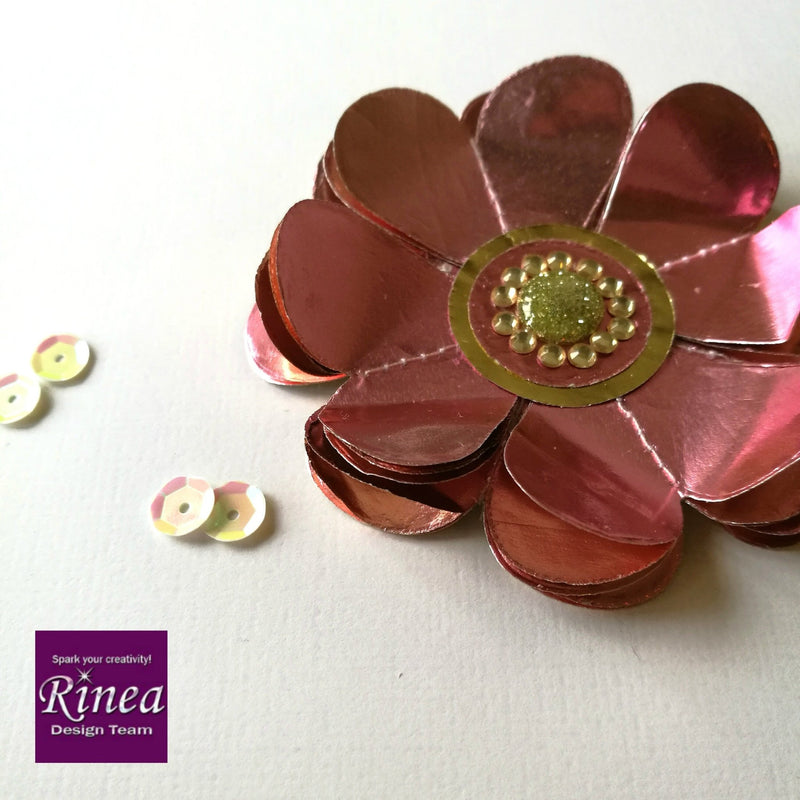
10. As a final touch, add a brad or button to the centre of the flower and decorate with small, sparkly gems!

Experiment with hearts of different sizes; numbers of layers and folds, bends or curls. And, of course, with all of the beautiful colours of Rinea Foiled Paper.