Learn How To Make a Colorful Card Focal Point Using Only One Die
by Roni Johnson


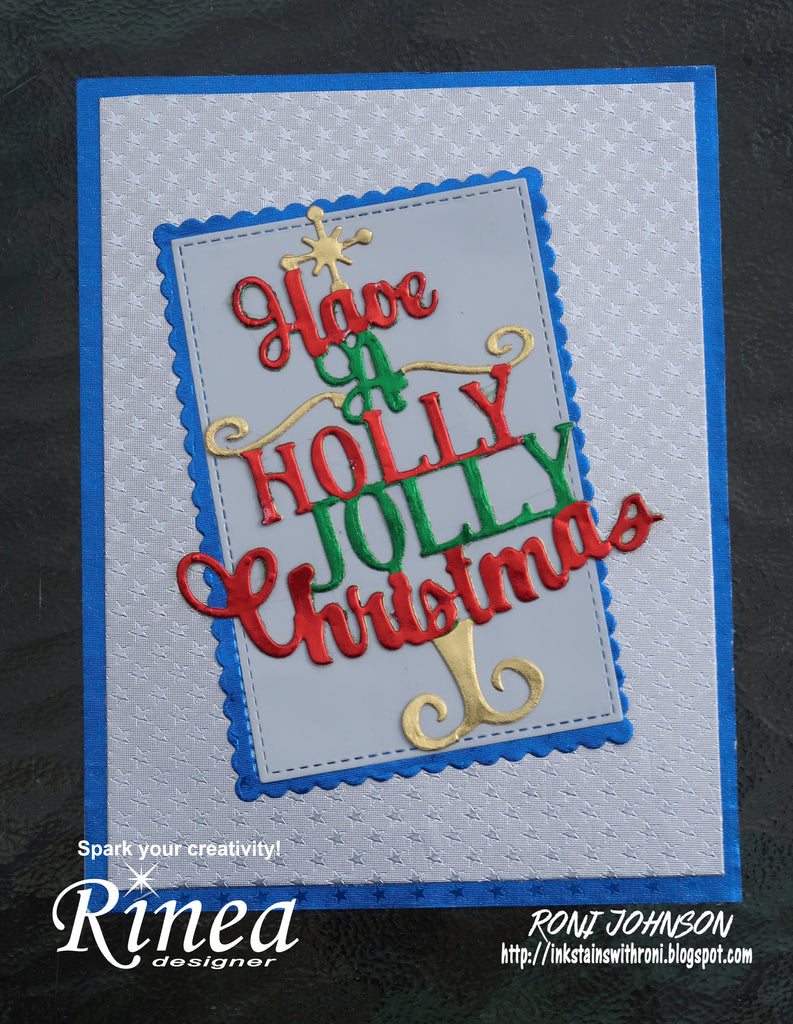
Keeping with my Christmas in July theme today I wanted to share how to take a single die cut image to create a bold and colorful card centerpiece. It's so very easy when you use Rinea Foiled Papers.
It's so very easy to take a plain diecut and give it an amazing makeover with just a few extra steps and Rinea Foiled Papers. Here's how:
Directions:
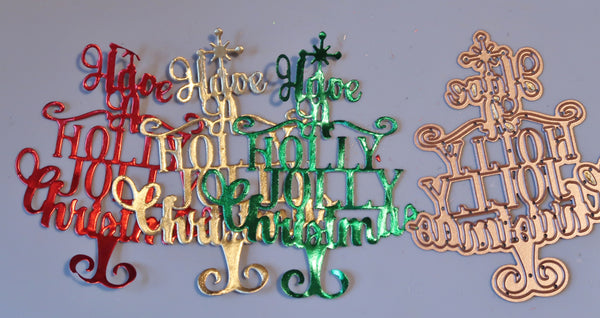
Step 1 - Diecut the chosen image in multiple colors of Rinea Foiled Papers. I chose Gold/Gold Glossy, Ruby/Gold Glossy, and Emerald/Gold Glossy foiled papers.
Step 2 - Carefully trim select sections of the Ruby and Emerald diecuts, reserve the Gold diecut to be used as the base for your design.
Step 3 - Glue each of the Ruby and Emerald pieces down to the Gold diecut in an alternating red, green, red design.
You now have an amazingly colorful diecut sure to catch anyone's attention.
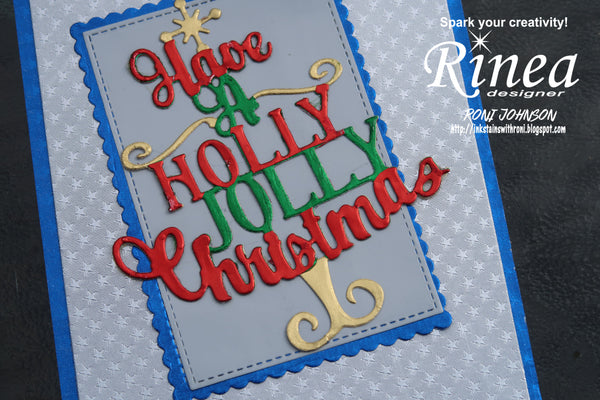
Finish off the card as desired.
Supplies:
Rinea - Ruby/Gold Glossy, Emerald/Gold Glossy, Gold/Gold Glossy, Arctic/Gold Glossy, Silver/Silver Starstruck, Cobalt/Gold Glossy, Cobalt/Cobalt Starstruck
Spellbinders - Christmas Tree
MFT - Scallop Stitched Rectangle, Stitched Rectangle
Card Base, Diecut Machine, Adhesive
Card Base, Diecut Machine, Adhesive