Scrapbooking With Rinea Foiled Paper & Ghost Ink
by Diana Soling

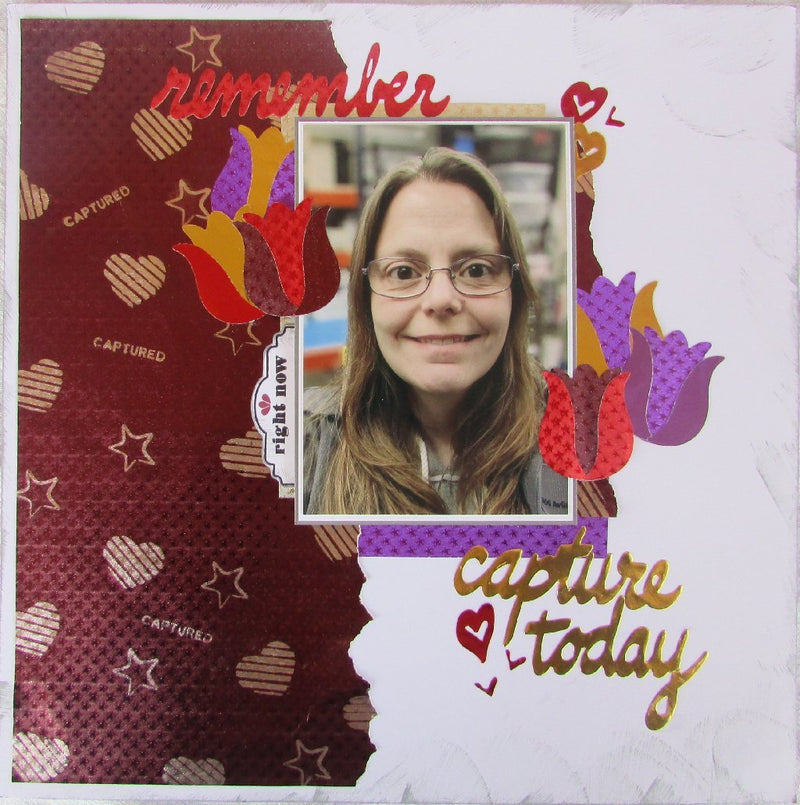
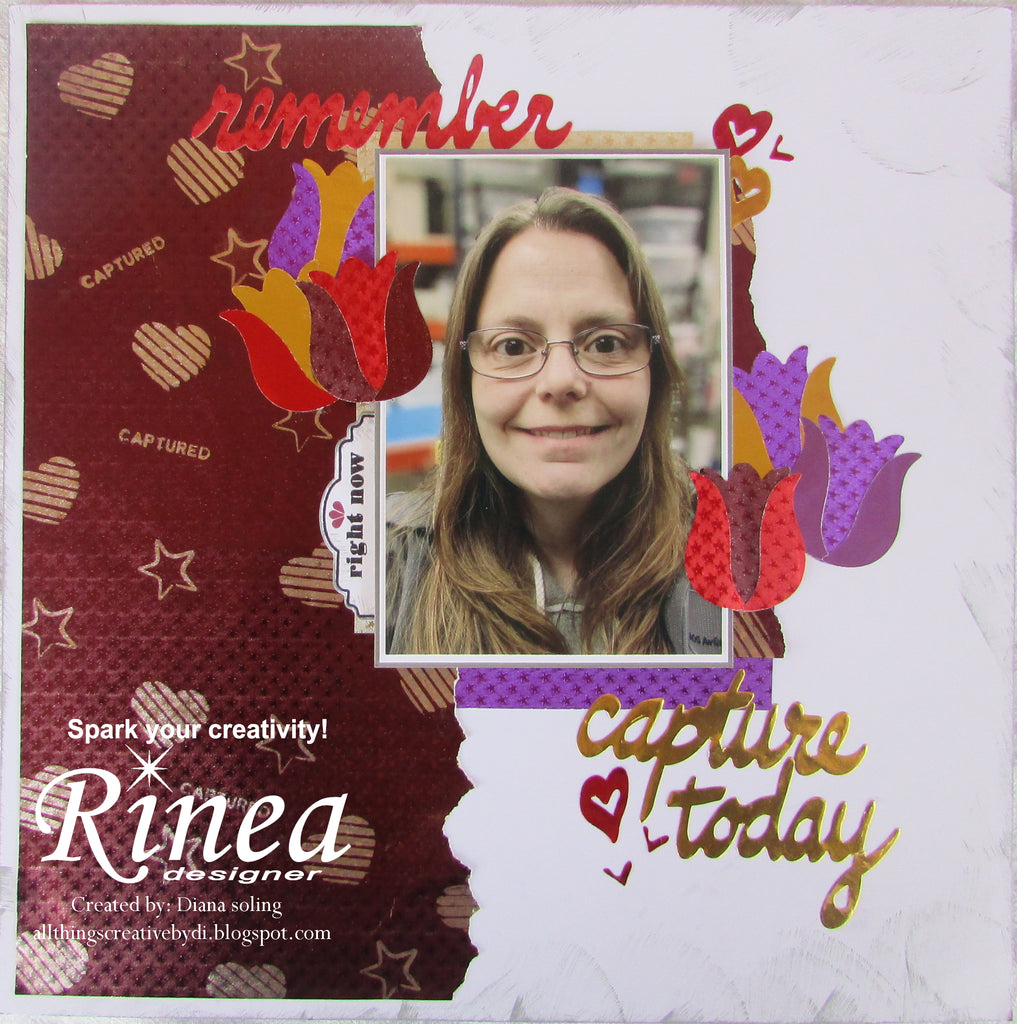
Hi everyone! Diana here with a fun scrapbook layout. I had so much fun creating this using the new Vineyard Foiled Variety Pack. Such beautiful colors in this set and so many great projects!
Supplies used:
bazzil~white cardstock
Tim Holtz~pumice stone distress ink
Stampin' Up!~tulip punch
Altenew~stamps and dies
Here we go!
1) Choose your cardstock, foiled paper, stamps, dies, inks, punches, and embellishments
2) I used Tim Holtz's pumice stone distress ink on the edges of the white cardstock and a bit in the center.
3) Using the Rinea Ghost Ink stamp your image/images onto the Merlot/Merlot Starstruck Foiled Paper. Making sure to stamp straight down and with slight pressure so the stamp doesn't move. If you go to quickly the image with move about your foiled paper and your image will be blurred.
4) Let the ink sit for a minute or so. You'll start to see the color lifting and the underlying silver will show through. Using a towel/paper towel lightly rub the images to remove the remaining color. This gives a really nice effect with minimal effort.

5) Using either dies or paper punches cut out your designs. I used a tulip punch from Stampin' Up! and word dies from Altnew for my layout.

6) Once you have all your cut out items you are ready to start assembling your layout. I cut the Merlot/Merlot Foiled Paper down to 11 1/2" x 4" and then tore the inner long side. Mat your photo if you'd like. I used white and then grey cardstock to help give a little "pop" to my photo.

7) Before adhering down the merlot/merlot piece I used a strip of violet/violet to add a bit of color under my photo as well as on some of the tulips. I also flipped the ruby/gold over and cut some tulips so I could add a bit of gold to the tulips.

8) I added a piece of the Gold/Gold Starstruck Foiled Paper behind my matted photo. Once I added a piece of the torn merlot/merlot behind the photo I was ready to adhere it down. I used an adhesive backed foam on the back of my photo to give some dimension (and it made it easier to add embellishments under it)

9) Now you're ready to add your title/subtitle and punched embellishments. I also created a tap for under my picture with a sentiment and image. Adding in the foiled paper hearts really helped tie everything in and finished the layout.

Thanks for crafting with me today! See you soon!!